A folder full of footage can stall a good video before editing even begins. Using a ChatGPT video editing tool can help turn those scattered clips into a workable first sequence. However, speed depends on the direction you provide. Clear instructions, organized footage and careful review make the difference between a useful draft and another editing headache.
The first cut should reveal your story, establish its order and expose missing pieces. Once that structure works, polishing becomes easier. Here’s how to approach the process with fewer revisions and stronger editorial control.
What a Rough Cut Should Actually Accomplish
A rough cut establishes the basic sequence of your video. It brings together selected takes, essential dialogue and supporting footage.
At this stage, precise color matching and elaborate transitions can wait. Instead, focus on whether viewers can follow the message.
A useful first assembly answers three questions. What should viewers understand? Which moments support that understanding? Where does their attention begin to drift?
For example, a product demonstration needs a recognizable problem before its solution makes sense. Attractive close-ups alone rarely establish that connection.
Therefore, judge the draft by its structure before judging its finish. A coherent sequence gives every later adjustment a purpose.
Prepare Your Footage Before Requesting an Edit
Preparation reduces the decisions your editing assistant must guess. Consequently, a few minutes of organization can prevent several rounds of corrections.
Separate Essential Clips From Optional Material
Start by identifying your strongest interview answers, demonstrations, or presentation takes. Then separate supporting shots from material that adds little value.
B-roll means footage that supports the main action or dialogue. Examples include product details, workspace shots and hands demonstrating a process.
Additionally, remove accidental recordings and obvious duplicates before uploading. Keep alternate takes when they offer a meaningfully different delivery.
Use descriptive filenames such as “demo_opening_take02” or “product_handle_closeup.” These labels make your instructions and later feedback easier to follow.
Define the Deliverable
Next, establish the intended audience, publishing format and approximate duration. A vertical demonstration needs different framing from a widescreen interview.
Also, decide what viewers should remember after watching. One clear takeaway provides a stronger editing target than several competing messages.
For instance, a coffee grinder video might demonstrate consistent grounds. Its first cut should prioritize evidence supporting that specific benefit.
Give Your ChatGPT Video Editing Tool a Clear Brief
Broad requests leave too many editorial choices unresolved. Instead, describe the result through concrete priorities.
Include the opening moment, required footage, preferred sequence and material to exclude. Specify whether the tone should feel energetic, measured, or conversational.
However, avoid stacking incompatible instructions. A calm explanation cannot accommodate constant cutting without changing its character.
Example Brief for a Product Demonstration
Consider this instruction for a short kitchen product video:
Build a roughly 45-second vertical draft from these clips. Open with the finished result, then show the preparation process. Prioritize the overhead demonstration and close-up details. Remove repeated actions and camera adjustments. Preserve the complete safety instruction. End with the product beside the finished dish. Keep the pacing clear and unhurried.
This brief defines observable choices. Moreover, it gives you specific criteria for reviewing the result.
Treat the requested duration as a target. If essential information needs more space, revise the structure before forcing faster cuts.
Build the First Sequence Around the Story
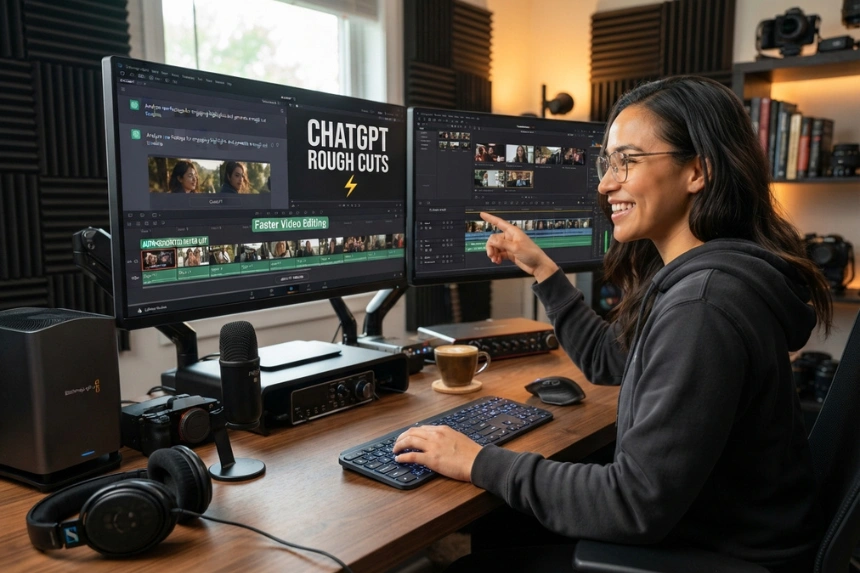
CapCut × Codex describes a workflow for reviewing uploaded footage and preparing an editable rough cut. Users can then refine that draft within CapCut.
Its page also describes selecting useful moments, trimming unwanted sections and arranging clips. Therefore, provide footage and instructions that support those tasks.
Start with a straightforward narrative: establish the situation, show the action and deliver the result. More complicated structures can follow once this foundation works.
For example, a furniture restoration video could open with the damaged chair. Next, show the repair that matters most. Finally, reveal the finished piece.
Meanwhile, supporting footage should clarify each stage. A beautiful workshop shot earns its place when it establishes context or bridges an edit.
Avoid asking every clip to survive the selection process. Sometimes, removing a favorite shot makes the overall sequence stronger.
Review Meaning Before Timing
The first review should test accuracy and comprehension. Watch the sequence once without stopping, then identify where the story becomes unclear.
Does the opening accurately represent the video? Can viewers understand each action? Does the ending fulfill the opening promise?
However, pay particular attention to edited speech. Removing a hesitation can improve delivery, while removing a qualifier can change someone’s meaning.
Similarly, preserve context around comparisons, measurements and product claims. A shorter statement offers little value if it becomes misleading.
Check visual continuity as well. Objects should maintain plausible positions and demonstrations should follow the correct sequence.
Consequently, restore necessary setup shots when an action feels abrupt. An extra second of explanation can prevent confusion throughout the remaining video.
Improve Pacing With Specific Revision Requests
After confirming the story, address its rhythm. Pacing depends on information density and viewer comprehension, alongside shot length.
For example, familiar actions may need only a brief glimpse. An unfamiliar assembly step usually deserves a longer, clearer view.
Replace “make it more engaging” with a precise instruction. Try: “Shorten the opening setup and reach the demonstration within five seconds.”
Additionally, reference timestamps or filenames whenever possible. “Replace the second close-up” leaves more room for confusion than identifying the exact clip.
Group feedback into focused passes. First fix selection and order. Then adjust pauses, shot duration and transitions.
This approach also makes revisions easier to evaluate. Changing everything simultaneously can hide which adjustment improved the sequence.
Avoid Mistakes That Create More Editing Work
One common mistake involves polishing an unstable structure. Adding detailed graphics too early creates extra work when scenes move or disappear.
Instead, settle the main sequence before refining decorative elements. Temporary titles can communicate intent without demanding unnecessary effort.
Another problem involves relying on speed as the only quality measure. A quickly assembled draft still requires editorial judgment.
Likewise, assess templates against your footage and message. A dramatic transition may interrupt a quiet testimonial or obscure a practical demonstration.
Keep revisions reversible whenever possible. Save a separate version before making major structural changes.
Finally, review the complete video after individual fixes. A stronger scene can still create an awkward transition into its neighbor.
Turn a Workable Draft Into a Finished Video
Once the rough cut communicates clearly, move into finishing. Balance dialogue, check captions, refine framing and correct distracting visual differences.
Then watch the export at its intended viewing size. Small text and unclear details often become apparent on a phone.
A ChatGPT video editing tool works best when you provide clear direction and decisive feedback. Start with organized footage, request a focused assembly and review meaning before polish. Ultimately, faster rough cuts should leave more time for the choices that make your video worth watching.